Reverse Seared Ribeye with Garlic Butter
Oct 10, 2024, Updated Feb 26, 2025
Jump to RecipeThis post may contain affiliate links. Please see our disclosure policy.
It’s grilling season here in Australia. Or, what we would know as barbeque season. What does this mean? It means that summer is right around the corner! As we move our lifestyle back outside onto our large verandas and gardens, we need to dust off the barbeque. With my Weber, I’ve been experimenting with some different techniques. And, while you have spent the winter indoors, I’ve been braving the elements to nail a reverse seared ribeye served with garlic and burnt pepper butter. I’m here to impart my wisdom onto you so that you can enjoy the summer months with this delicious dish.
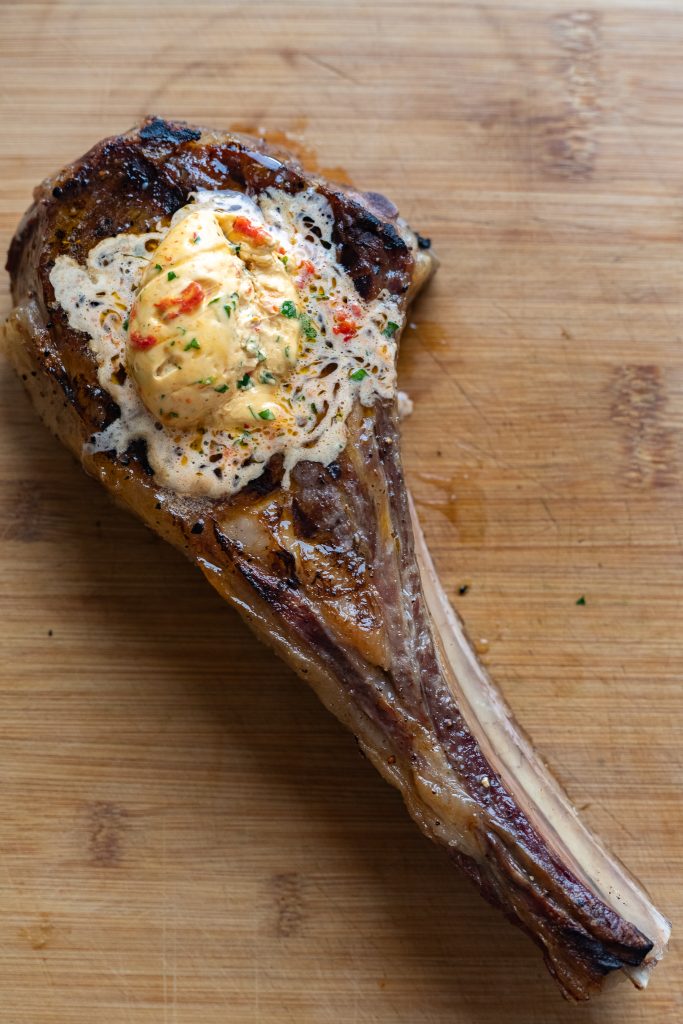
Reverse seared ribeye
It’s best to start with the basics when it comes to a reverse seared ribeye. And, the basics really are down to one question: what exactly is a reverse sear? The reverse sear is a method where the meat is cooked twice: once on a high heat and another time on a low heat. Why the two different heats? One develops a crust and the other nails the cook to a perfect mid-rare (or whatever your preference is).
This method tends to also tip the tradition on its head. Normally, something is done on a high heat first. The argument being that this “locks in the juices”. But this method is about finishing on that hot heat, giving it a gorgeous and delicious crust. When you’re cooking a reverse sear, the primary thing to be looking out for is that crust.
What is a rib eye?
Now the ribeye is my favourite cut of meat because it’s very tender. The ribeye also has a lot of inter-muscular fat which is all that white marbling you can see running throughout it. What do we know about fat? Fat equals flavour! Try and buy one with the most amount of marbling you can find. You can get this with the bone in or boneless which is a very common way to buy it in Australia. Us Aussies call this a scotch fillet.
Bone in rib eye
Contrary to what some may believe, bone in ribeye doesn’t change the flavour of your steak at all. So why bother cooking a bone in rib eye and paying the extra cost? Well it can improve the meats’ juiciness as the bone insulates the meat when it cooks. It also looks pretty impressive and I love nothing more than sinking my teeth into the bone.
Techniques to nailing the reverse sear
Now let’s talk through everything you need to do to nail the perfect rib eye. I must admit, I used to be very intimated to cook these big bone-in steaks! But after a fair bit of practice and taste testing from my husband, much to his delight. I can tell you there’s not much to be afraid of with just a few easy rules to follow.
step 1 - DRY BRINE
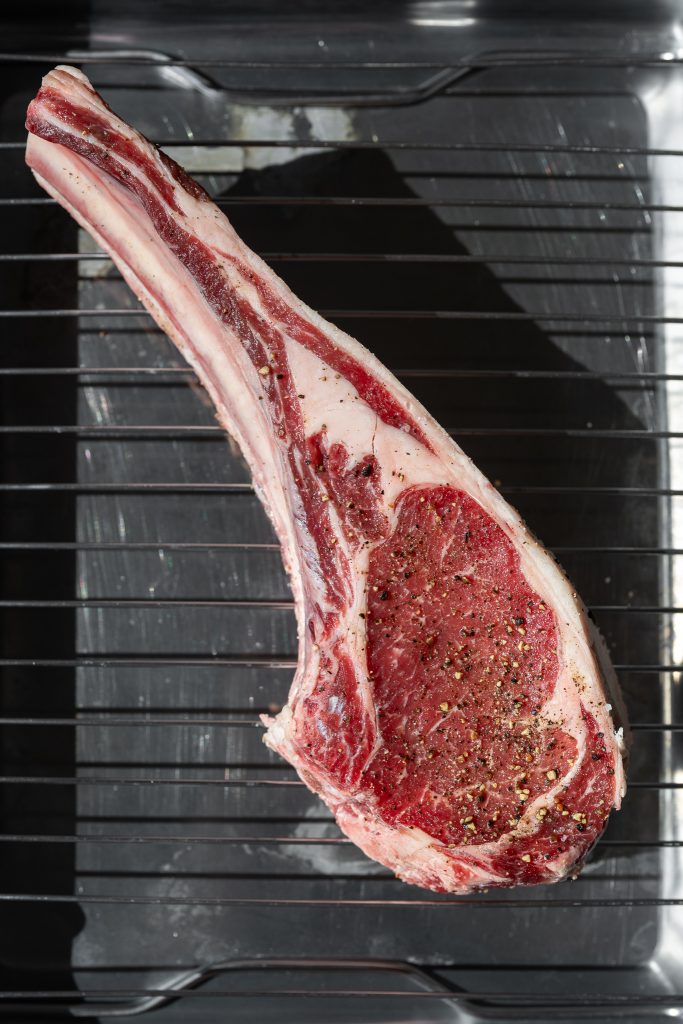
Best practice for any steak is to dry brine as this will tenderise and flavour the meat. It will also help draw moisture out and dry the exterior of the steak, helping create a browner and crisper crust when we fry it. Pat the steak dry with absorbent paper, and heavily salt with either kosher or flakey and sea salt on both sides and the edges. You need a fair bit of salt here - don’t be shy. Place the steak onto a rimmed baking sheet and leave uncovered in the fridge for a minimum of 1 hour or ideally, a maximum of 24 hours.
step 2 - ROOM TEMP
Another steak cooking myth out there is that your meat needs to be at room temp before you cook it. But after much research and experimentation, bringing your meat to room temp versus cooking it cold out of the fridge really doesn’t make much of a difference. However, I do like bringing my steak to room temp as it creates a controlled cooking time allowing me to give precise cook times and temperatures for the perfect medium rare steak.
STEP 3 - THE OVEN
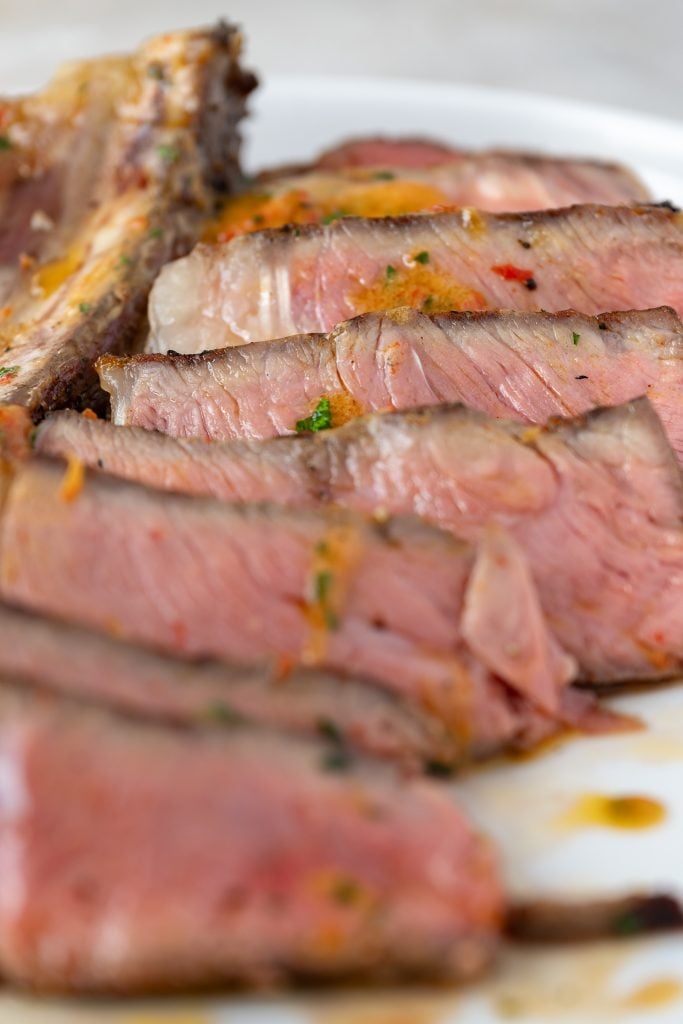
Now this is a reverse sear steak meaning we are doing things the opposite way around. As opposed to the more common way of searing it on the grill then finishing it in the oven, we are switching things up. Place the steak into an oven that is preheated to 220 degrees F or 105 degrees C and bake for 40 – 45 minutes or until the steak is at an internal temp of 115 degrees F or 46 degrees C for medium rare. If you like your steak a little more cooked, go to 125 degrees F or 51 degrees C. I am using a meat thermometer to measure the internal temp and unfortunately, if you don’t have one of these you will find it difficult to master your steak. The internal temperature is extremely important in this step!
STEP 3 - SEARING
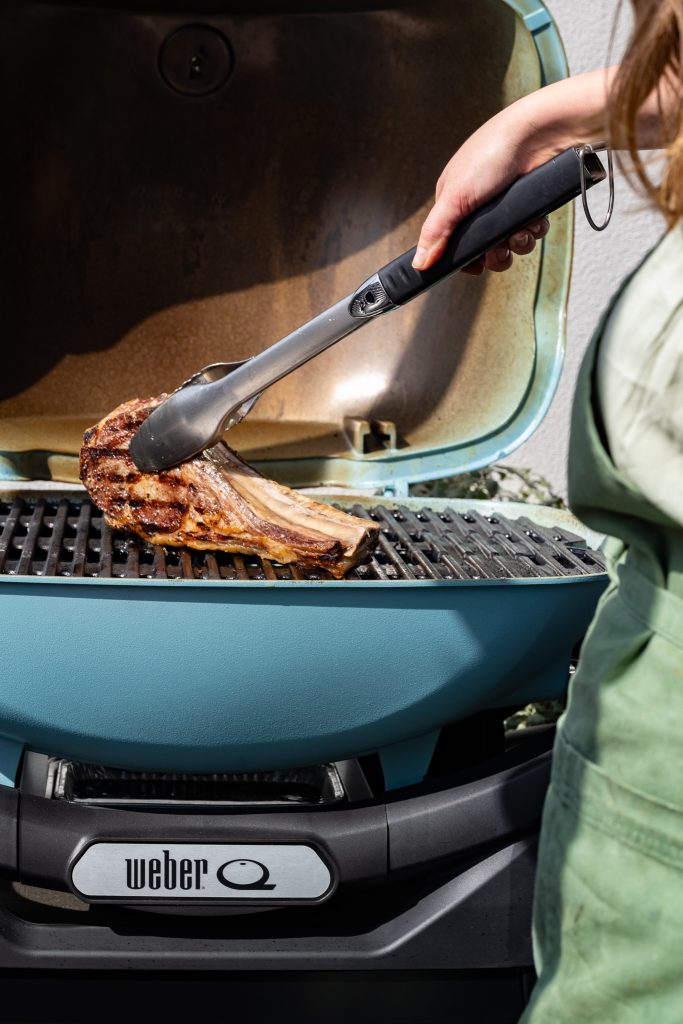
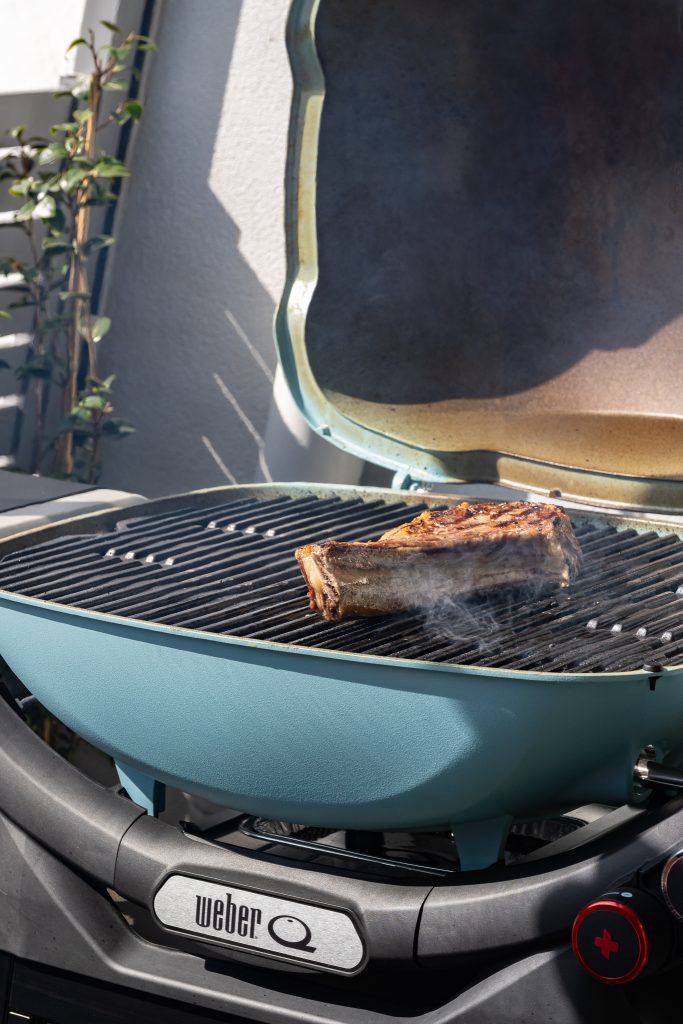
To get that beautiful crust on the outside of your steak, you need to sear it on a very hot pan or on the grill (my personal preference). It's also important that steak is dipped into clarified butter to help with the crust and colour. Clarified butter is butter that has had all the milk solids removed. Milk solids will burn when cooked at a high heat so you can only imagine why they are not welcomed when grilling a steak. The smoke point of clarified butter is 450 degrees F /230 degrees C which is much higher than a regular butters smoke point that sits at 350 F / 175 C.

STEP 3 - rest
I know how difficult it can be to not cut into a beautiful piece of steak as soon as it comes off the pan but this step is so important as it leaves you with a juicer steak! I like to rest mine from 5 – 10 minutes once seared and at least 20 minutes when brought out of the oven.
Garlic and burnt pepper butter
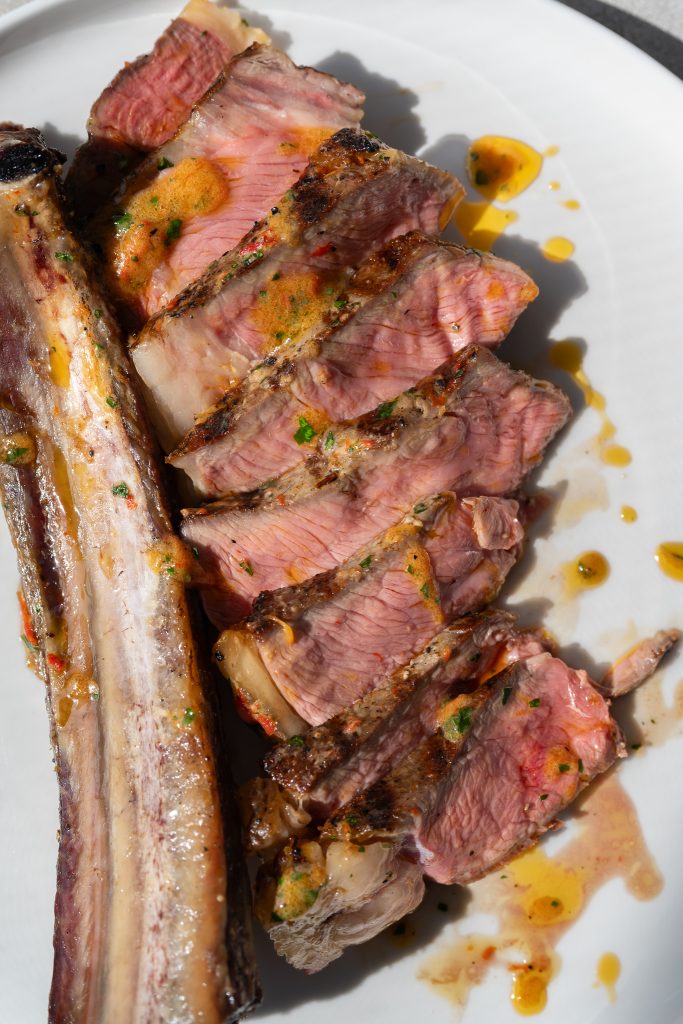
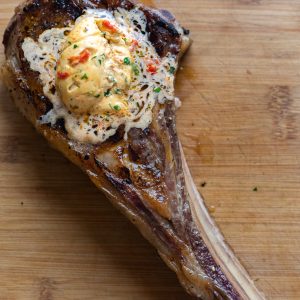
Now that we’ve nailed the Reverse Seared Ribeye thanks to the Weber and some patience, the next thing is what to serve it with. Enter: Garlic and burnt pepper butter. This is a delicious compound butter that is filled with so much flavour! If you don't have a food processor to make the butter, you can always just mash everything together with a fork and finely chop the parsley and burnt pepper. And if you ever wondered if you can confit garlic on the BBQ, well the answer is yes, yes you can!
If you make this reverse sear rib eye at home, please tag me on Instagram, Tik Tok or Pinterest so I can see your wonderful creations!If you have any questions or would like to leave a review, please do so here! I always love answering your food and recipe related questions and hearing your feedback on my recipes.
This recipe was sponsored by Weber Australia. Images by Alanna Penna photography.
Reverse Seared Ribeye
Ingredients
- 800 g bone-in ribeye, 1.7lb
- 4 garlic cloves
- 2 tablespoon olive oil
- 400 g butter, room temperature, 14oz
- 4 bullhorn or sweet peppers
- ¼ cup parsley, roughly chopped
- ¼ cup clarified butter, melted
- kosher sea salt
- black pepper
Instructions
- Do this step the day ahead. Heavily season the rib eye with kosher sea salt on both sides and the edges. Pat the salt into the rib eye and then lay onto a wire baking rack and place into the fridge for 24 hours, uncovered. This may seem like a long time but this will dry brine the steak and create the juiciest and tastiest meat.
- When you are ready to cook the steak, remove from the fridge 30 – 60 minutes prior to cooking.
- Preheat your Weber to the Roasting Setting on a low heat.
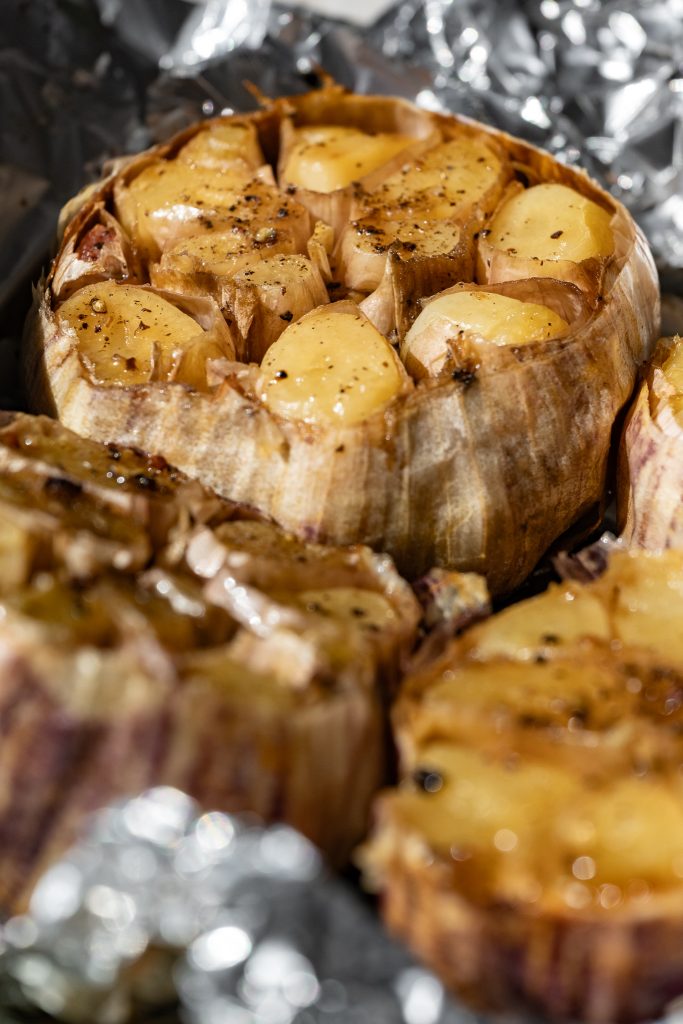
- Slice the top off the garlic bulbs and place onto a large sheet of alfoil. Sprinkle the garlic with salt and pepper and then drizzle over the olive oil. Wrap the garlic up in the al-foil, ensuring they are tightly covered and then place onto the Weber. Close the lid and cook for 1 hour or until the garlic cloves are soft and caramelised. Remove from the weber and leave to cool. Once the garlic is cool enough to handle, squeeze out the garlic cloves and mash them up with the back of a knife or spoon. Set to the side.
- Continuing on the roast setting, roast the Rib Eye for 45 minutes or until the meat reaches an internal temperature of 115 C / 46 C for medium rare or 125 F / 51 C for medium. Remove from the BBQ and leave to rest for 15 – 20 minutes. While the steak is resting ensure your weber grill barbecue is preheated on high to get the perfect searing temperature to the highest temperature.
- While the BBQ is on high, place the sweet peppers onto the grill. Close the lid and cook for 5 minutes on each side or until blackened and charred. Remove from the weber. Using a sharp knife, scrape off the black char and remove the seeds.
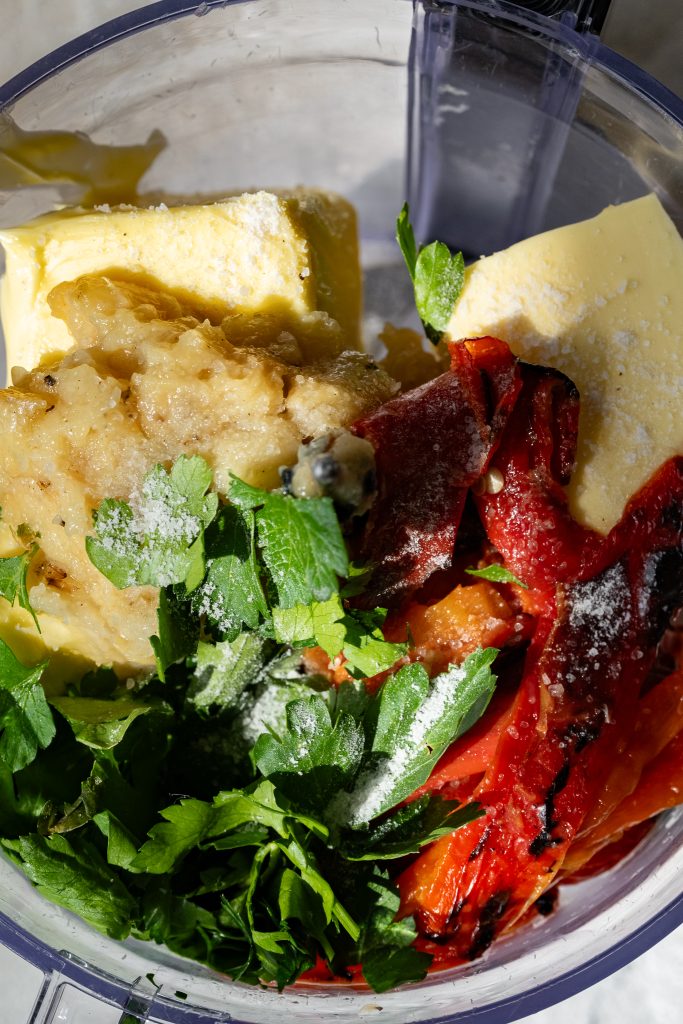
- Place the garlic confit, butter, bell peppers, parsley and pinch of salt into a food processor and blend until all ingredients are well combined. Alternatively, you can mash all ingredients together with a fork for a more chunky texture.
- Once rested, brush both sides of the steak with clarified butter. Place onto the grill and sear for 2 minutes on each side or until a brown crust has formed. Remove from the grill and leave to rest for 5 – 10 minutes before slicing into it.
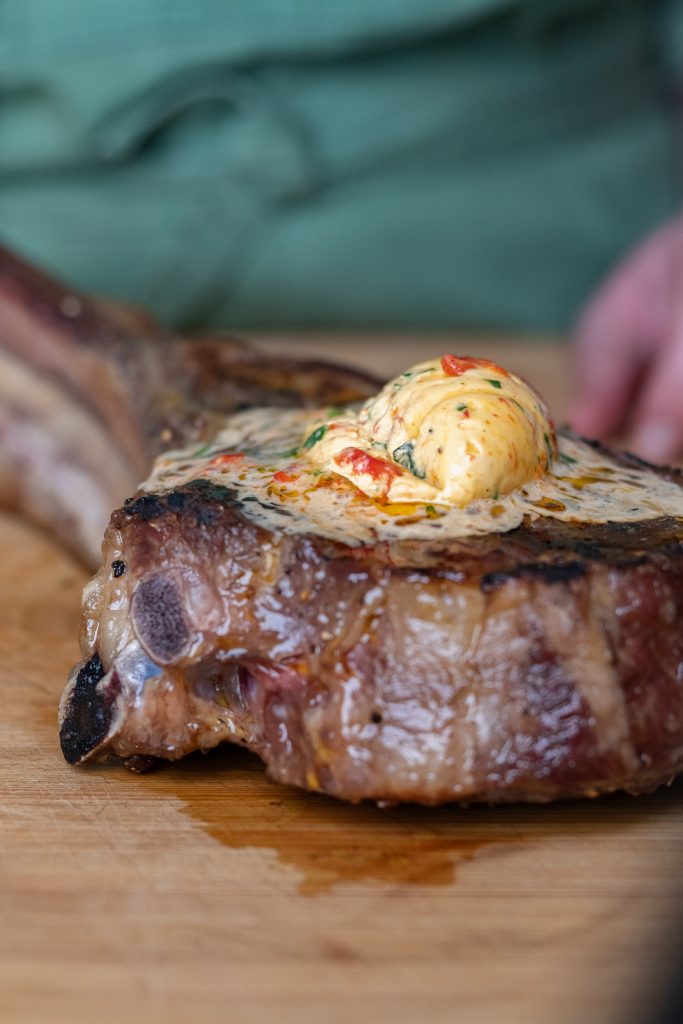
- Spoon a large amount of the garlic butter onto the hot steak and spread all over. Slice up the steak and serve immediately!
 Like this? Leave a comment below!