Creamy Rotini Chicken Pasta
Oct 14, 2024
Jump to RecipeThis post may contain affiliate links. Please see our disclosure policy.
If you’re like me, a quick 20-minute pasta dish is a lifesaver after a busy day. Enter the creamy rotini pasta that hits the spot every time—quick, delicious, and exactly what your body and mind deserve.
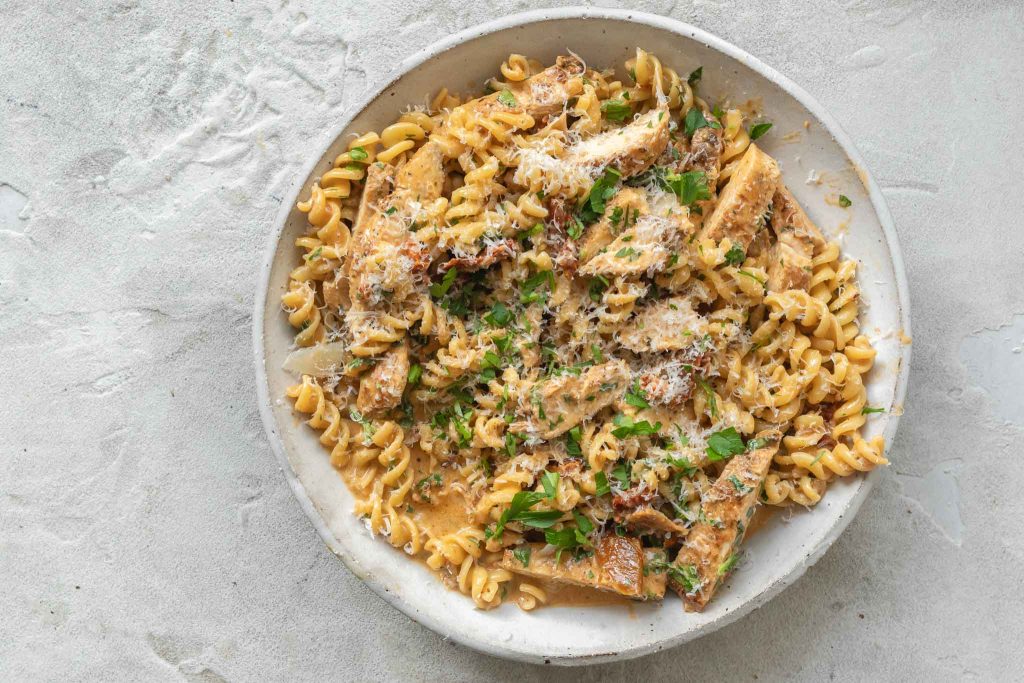
Table of Contents
Why Rotini?
Everyone loves hearty, creamy pasta; if you ask me, no other pasta holds sauce better than rotini. Originating in Southern Italy, this corkscrew-shaped pasta is one of my favourites to cook with, especially when paired with chicken. It’s similar to fusilli, a pasta shape you may be more familiar with.
What is Rotini Pasta?
Rotini (not to be confused with fusilli) is a short, corkscrew-shaped pasta that emerged first in Southern Italy. While it might look similar to fusilli, rotini has tighter twists. The name roughly translates to “small wheels,” its unique spiral design perfectly holds and captures sauces, making it a popular choice for hearty, sauce-heavy dishes. So, whether you pair it with a creamy sauce or a lighter dressing, rotini pasta recipes retain flavours, giving you that delightful, creamy taste with every bite.
What You Need for This Creamy Rotini Chicken Pasta
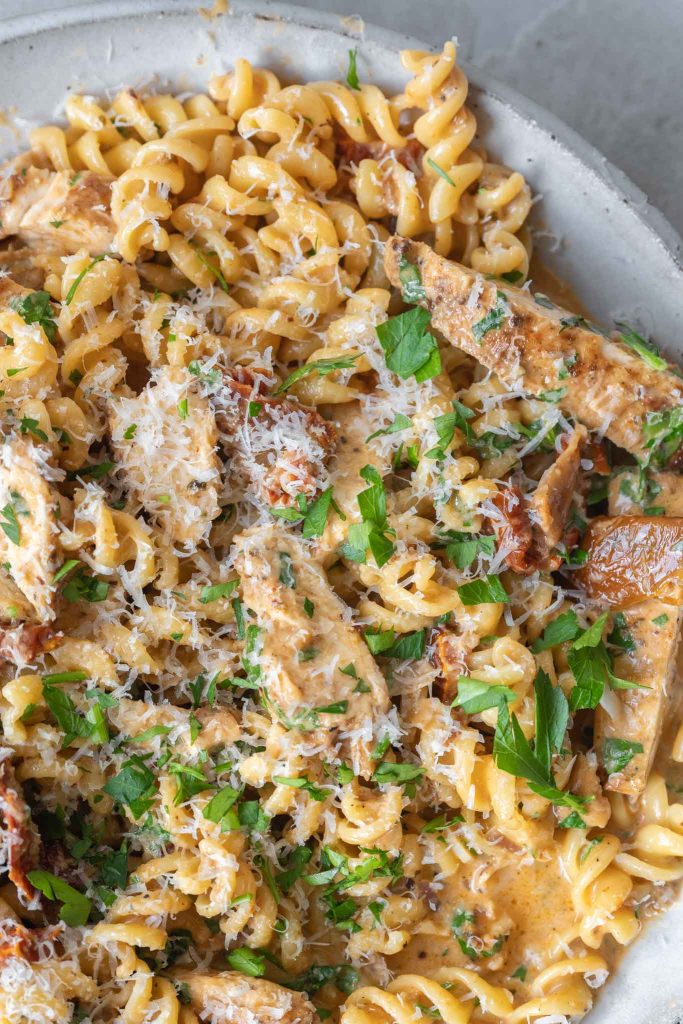
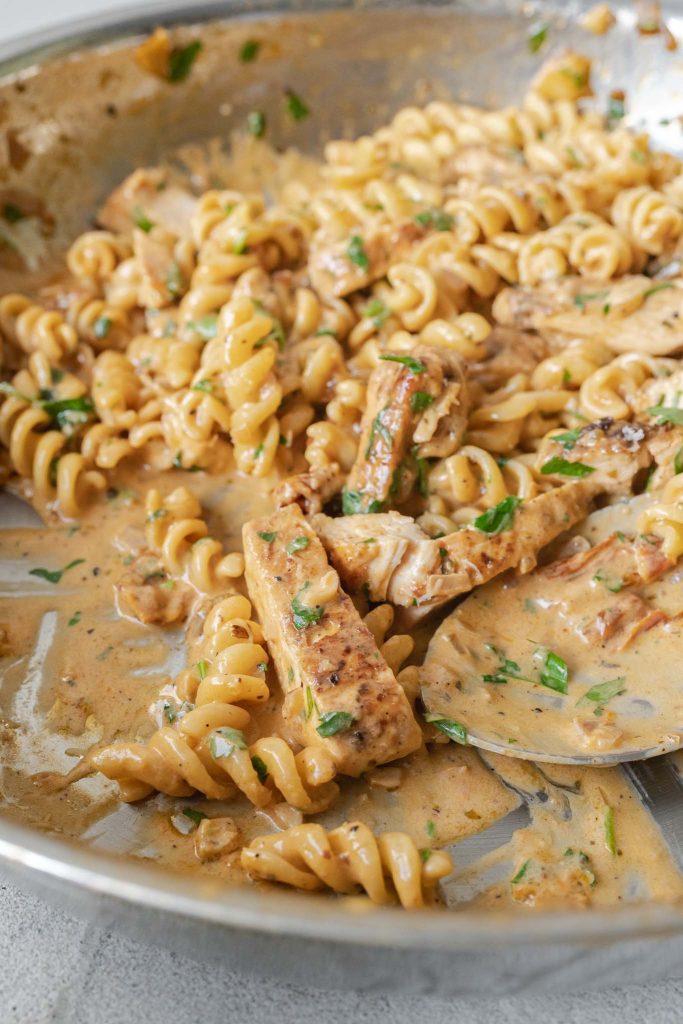
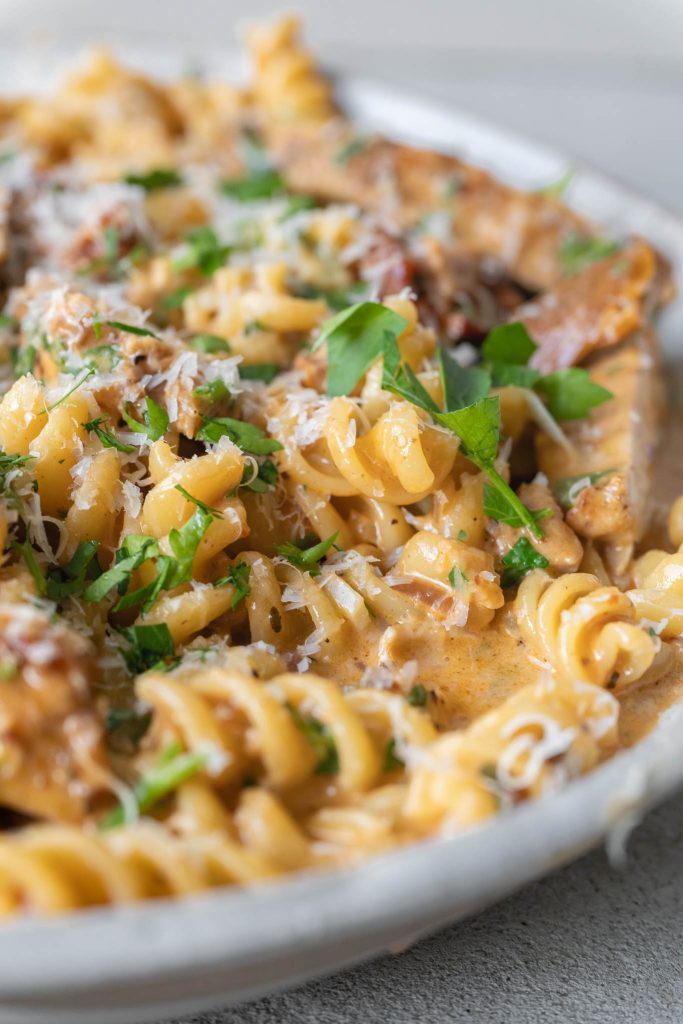
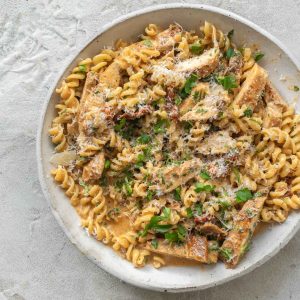
This quick chicken rotini pasta recipe brings together tender chicken seasoned with paprika, garlic, and oregano, paired with creamy sundried tomato sauce and a sprinkle of parmesan.
With rotini pasta perfectly cooked to absorb all the rich flavours, this dish is the weeknight comfort food you’ve been craving. Plus, with simple ingredients like chicken, cream, and pasta, you likely have everything you need right in your pantry.
Step-by-Step Instructions for Rotini Chicken Pasta
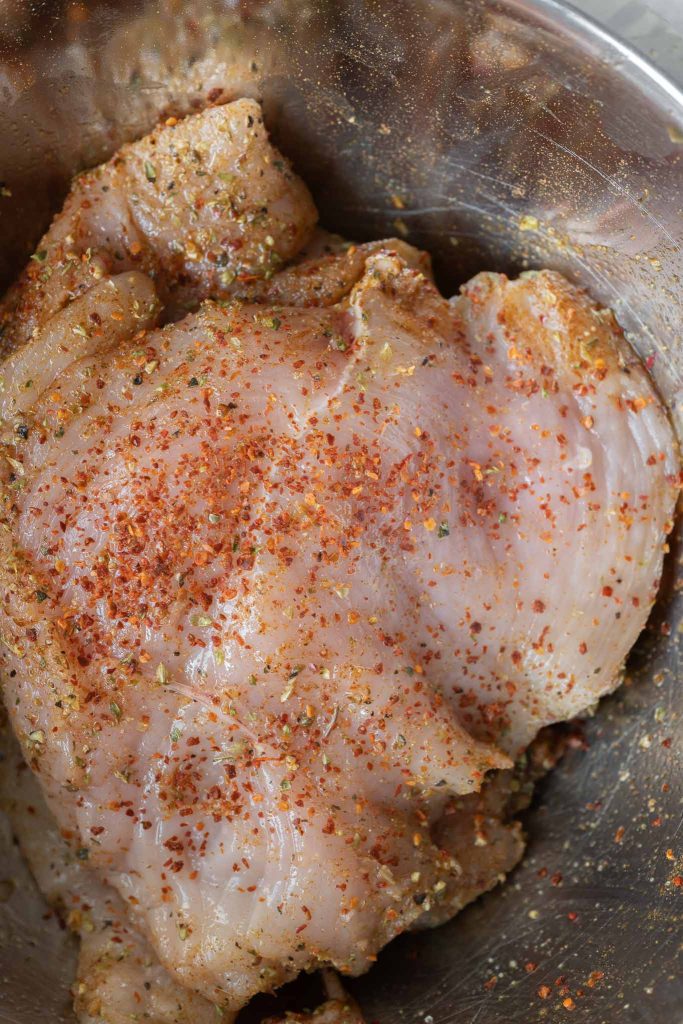
Step1: Slice the chicken breasts horizontally and pound them to an even thickness. Season the chicken with sweet paprika, garlic powder, and oregano to create the perfect base for your dish.
Step 2: Boil a pot of salted water and add the rotini pasta. Cook until al dente, usually about 8-10 minutes, then drain the pasta and save a bit of the pasta water for the sauce. For the best rotini pasta recipes, make sure the pasta is cooked to perfection.
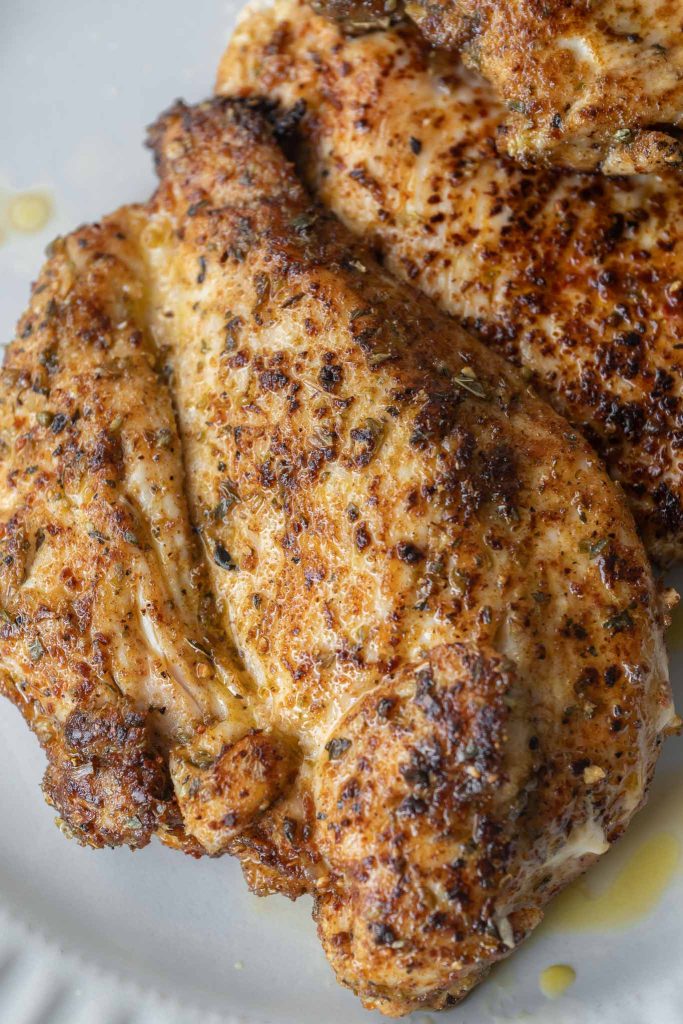
Step 3: In a pan, cook the chicken on medium heat until browned and cooked through. Set aside and start making the sauce by adding garlic, shallots, butter, and tomato paste to the pan. Once it’s cooked through, stir in the cream and sundried tomatoes. This step is key to creating one of the creamiest rotini chicken pasta recipes.
Step 4: Toss the cooked rotini pasta into the sauce, adding a splash of pasta water if needed to achieve the perfect consistency. Add grated parmesan and the sliced chicken, stirring everything together to complete your rotini recipe.
Tips for the Perfect Rotini Chicken Pasta
- When making any quick rotini pasta recipes, it’s important to cook the pasta just right. You want it firm enough to hold up to the creamy sauce, ensuring your dish is never soggy.
- To enhance the flavour of your rotini pasta recipe, consider adding fresh parsley or basil. This not only elevates the taste but also makes your rotini recipe feel even more special.
- No rotini chicken pasta recipe is complete without a healthy sprinkle of parmesan cheese. The cheesy goodness pairs perfectly with the tender chicken and creamy sauce, making this one of the most flavorful rotini pasta recipes you’ll ever try.
Why This Rotini Chicken Pasta Recipe Stands Out
This recipe for chicken rotini is not only quick and easy, but it also delivers big on flavour. The combination of tender chicken, rich and creamy sauce, and flavourful rotini pasta creates a dish that’s satisfying and perfect for busy weeknights. If you’re looking for one of the best chicken and rotini recipes, this one is sure to be a hit with the whole family.
With simple ingredients and a short prep time, it’s one of those quick rotini pasta recipes you’ll want to keep on hand for any occasion.
FAQs About Rotini Chicken Pasta
1. What is rotini pasta used for?
Rotini pasta recipes are incredibly versatile and can be used in a wide range of dishes. Thanks to its spiral shape, it captures sauces beautifully, making it ideal for creamy, chunky, or oil-based sauces. You’ll find rotini recipes work well in salads, baked dishes, and, of course, in this delicious rotini chicken pasta recipe.
2. Is rotini pasta healthy?
Yes! Many rotini pasta recipes can be a part of a healthy diet, especially when paired with lean proteins like chicken and vegetables. This rotini recipe uses sundried tomatoes, garlic, and cream to create a rich dish that also provides balanced nutrition. Whether you’re making quick rotini pasta recipes or something more elaborate, it can be a wholesome meal.
3. What’s the difference between rotini and fusilli?
Both rotini and fusilli are spiral-shaped, but rotini has tighter twists. This makes rotini pasta recipes perfect for capturing thicker, creamier sauces, like the one in this rotini chicken recipe. Fusilli’s larger spirals are better for lighter, oil-based sauces, while chicken and rotini pasta recipes are perfect for heavier, more indulgent sauces.
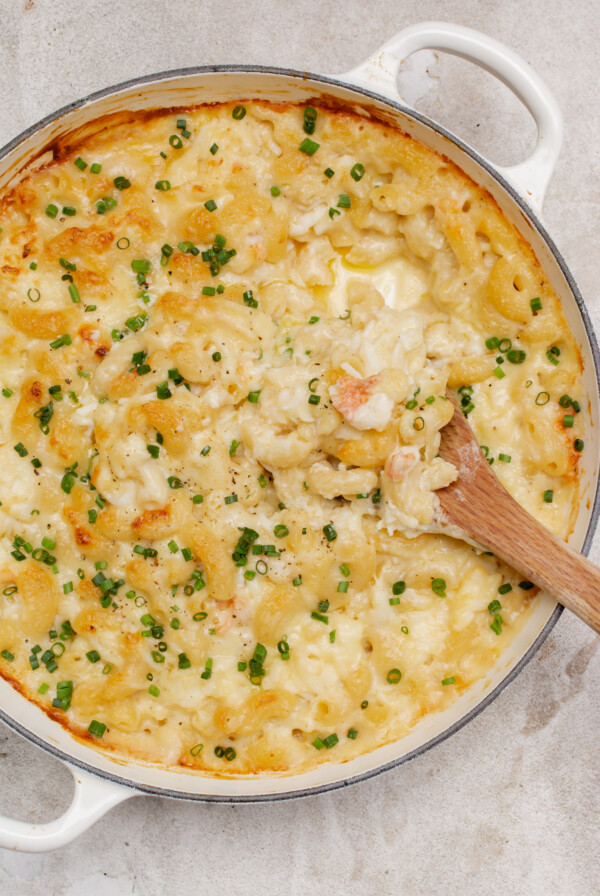
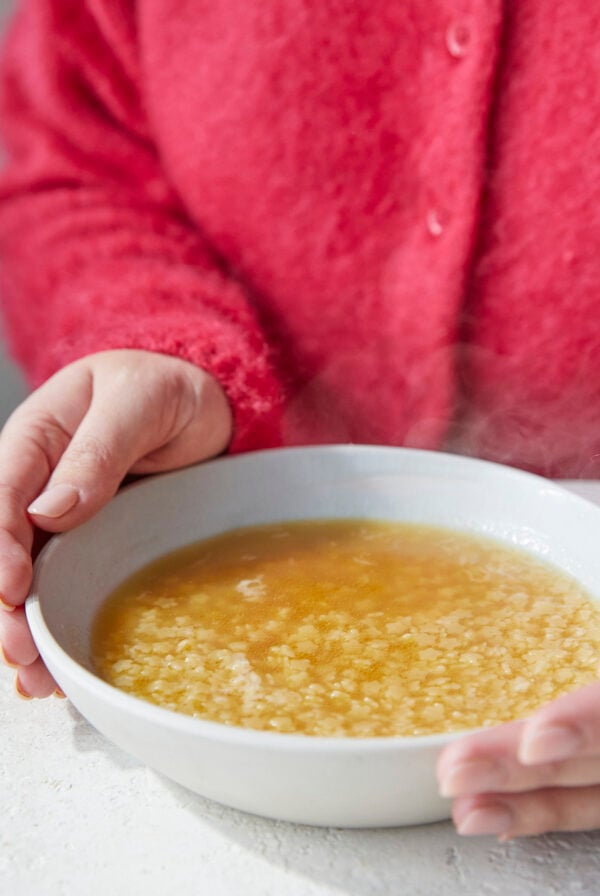
You also can find some other pasta recipes such as Orzo pasta, Orecchiette Pasta, Lobster pasta or our popular pastina tiny pasta recipe.
Creamy Rotini Chicken Pasta
Ingredients
- 10 oz (300g) chicken breast
- 2 tbsp sweet paprika
- 1 tbsp dried oregano
- 1 tbsp garlic powder
- ½ tbsp onion powder
- 1 shallot, finely diced
- 3 tbsp olive oil
- 4 garlic cloves, finely diced
- 4 tbsp butter
- 1 tbsp tomato paste
- 200 ml heavy cream
- ¼ cup sundried tomatoes
- ¼ cup parmesan, grated
- 10 oz (300g) rotini pasta
- Fresh parsley, finely chopped
- Salt and pepper to taste
Instructions
- Using a sharp knife, cut through the middle of the chicken breast horizontally so they half in thickness. Let the knife do most of the work, applying a small amount of pressure as the knife glides through crosswise. It’s easiest when you place one hand on top of the chicken breast. Don’t worry if this is not done too evenly! Repeat this step with all the chicken breast.
- Place one piece of chicken between two pieces of plastic wrap. Using the smooth side of a mallet, pound the chicken from the centre outwards until the breast is roughly 2cm thick and has an even thickness throughout. This step is to ensure the chicken cooks at an even rate.
- Place the chicken into a large bowl and coat with the sweet paprika, oregano, onion and garlic powder, 1 tablespoon olive oil and a generous amount of salt and pepper. Mix well with your hands and set to the side for now.
- Bring a large pot of heavily salted water to the boil. Add the pasta and cook according to the pasta packet instructions. Drain the pasta 2 minutes before the suggested el dente cook time as the pasta will continue to cook when we toss it through the sauce. Reserve 1 cup of pasta water.
- While the pasta cooks, begin making the sauce. In a large pan on a medium – high heat, bring the olive oil to heat. Add the chicken to the pan and cook for 2 – 3 minutes on each side. You will need to do this step in batches to ensure the pan does not overcrowd and the chicken does not broil. We are looking for a beautiful caramelized crust on the chicken. Remove the chicken from the pan and allow to rest for 5 minutes before slicing into it.
- Reduce the heat to medium and add the butter to the pan. Once foaming, add the garlic and shallot to the pan with the butter and cook for 2 minutes or until fragrant and translucent. Continue to stir to ensure the garlic does not burn.
- Increase the heat to high and add the tomato paste. Cook for 2 minutes or until the tomato paste and darkened in colour and is almost sticking to the pan. Use a wooden spoon to stir through and really scrape off all those delicious parts on the bottom of the pan that were leftover when we cooked the chicken.
- Reduce the heat to medium and add the cream. Stir through and once foaming, add the sundried tomatoes, pasta and a splash of pasta water. Grate in the cheese and stir through until you have a silky and glossy sauce. Continue to add the pasta water slowly if needed. You may not need the full cup so do this step in batches.
- Turn off the heat and stir though the parsley and chicken. Finish off with an extra sprinkling of cheese.
Video
 Like this? Leave a comment below!
Highly recommend. I’m a beginner cook and it was easy to make. Get everything ready first. Everyone inhaled it.
Thank you for such a lovely comment!